¶ Word OLEs
The Word OLE is capable of extracting data from objects and copying, adding them to a previously created word document.
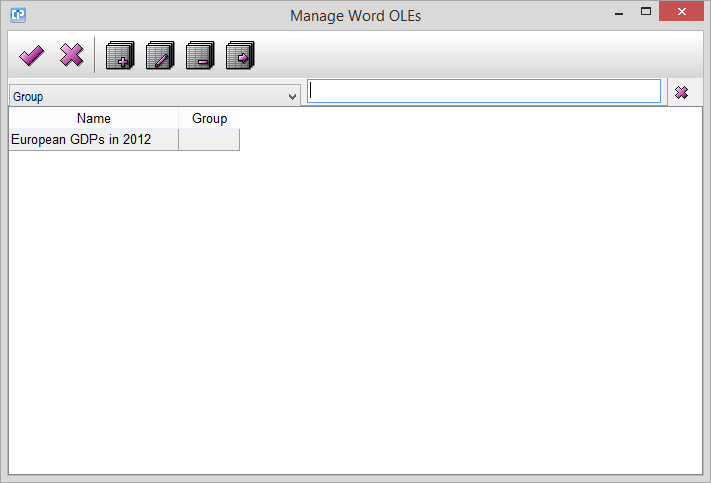
As you can see on the screenshot below, for creating or editing a new Word OLE pack, use the  and respectively,
the  buttons. To duplicate or to delete one of your existing packs, select it and use the
 and
 buttons.
After this, we have to create a word document into which the data is going to be transported.
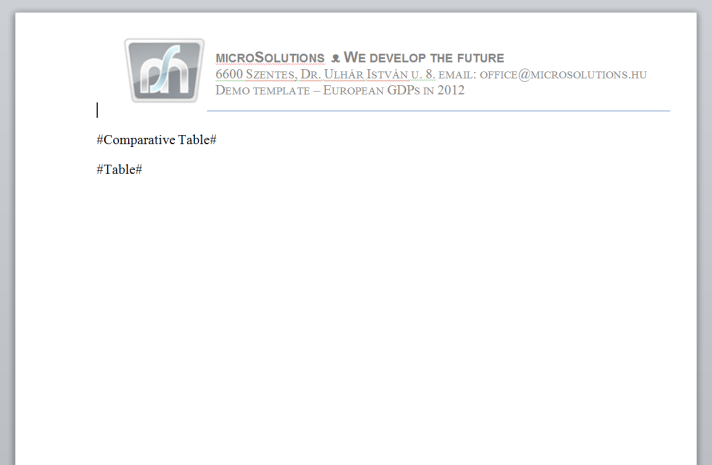
To create a new Word OLE we have to:
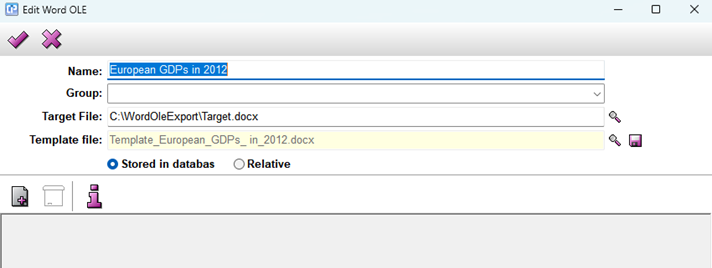
- give it a name in the Word File tab
- if necessary, insert it into a group
- use the browse button
 to select the target file
- select the previously created template file
- decide whether our document is stored in the database so that anybody can reach it, or relative meaning that it is
part of the cockpit. - the document stored in the database can be exported using the save button
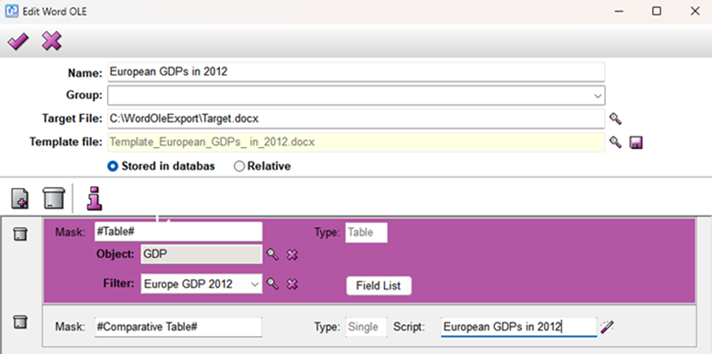
- add new item with
 button choose from the single and the table types.
In both cases the mask is a concept written between the '#' signs. The mask has to be found in the uploaded word
document as well, because this will be changed to the necessary data. - in the case of the single type, the mask will be changed to the result of a formula. Here, with the help of the

you can open the Formula Editor. - the table type changes the mask in the document to an object. Thus the desired object can be selected from the
Select Object dialog opened again with the help of the.
In the case of tables you also have the possibility to filter your object by bringing up the Select Filter dialog
and thus select a suitable filter.
With the help of the Field List feature, you can decide which fields you want to visualize in your table.
The feature brings up three possibilities.
If you choose Overview as an option, the exported data will contain only those fields which are visible in the grid.
As its name suggests, with the help of the All option, all data will be exported.
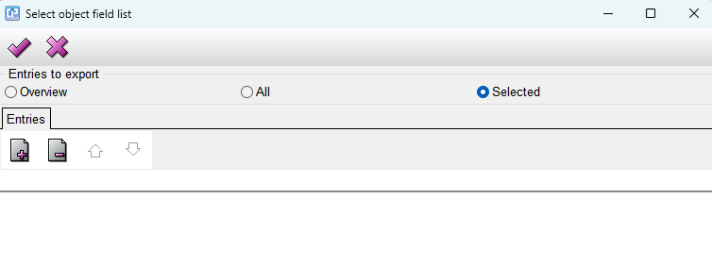
In the case of the Selected, you have the possibility to add with the button Entries (separate entries), Object entries
(all entries connected to an object), and Object overview entries (entries which can be found on the grid) to filter the exported
data.
The final movement is the inevitable usage of the CIP_ExecuteWordOLEPack MathParser function, which is responsible for
deporting the data to an external file.
Via the Administration -> System -> Settings, you can specify a temporary directory for the Word OLE settings.
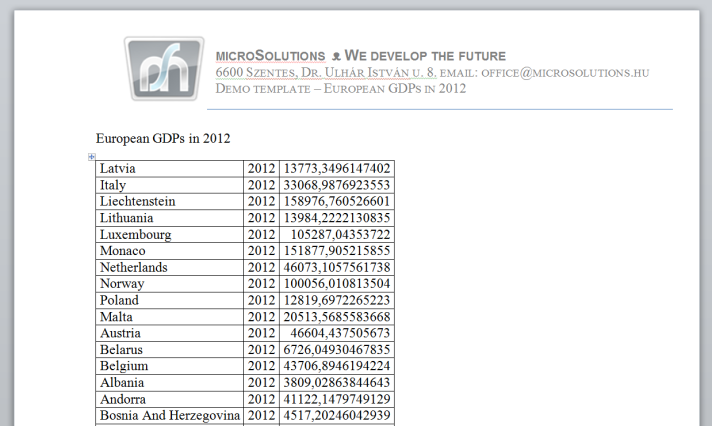
Our example consisted of exporting a filtered object containing the 2012 European GDPs to a Word document.
And thus opening the document in the respective temporary file we will find the exported data.