¶ Transformations
Before using this feature you have to add or select one, or more target entries from your list. These entries will be visualised on the left part of the window.
- You can add a new entry by clicking on the
 button. After this step, with the help of the
 and the upcoming Select Entries dialog you can select your Target Entry to where the new values will be transformed.
- The Import Case feature gives you the possibility to calculate and update or insert the values to the target entries.
- Delete a selected entry with the help of the
 button or remove all of them by clicking on the
 .
- Move your selection through your entry list with the help of the
 and
 buttons.
The results of each entry's script should be the new values for the target entries.
We can reach the original values of the entries with the help of the ORIGINAL_prefix.
All selected entries may be provided with formulas.
When you create one, do not forget to use the formula editor to ease your work.
You can follow the forthcoming examples for a better understanding:
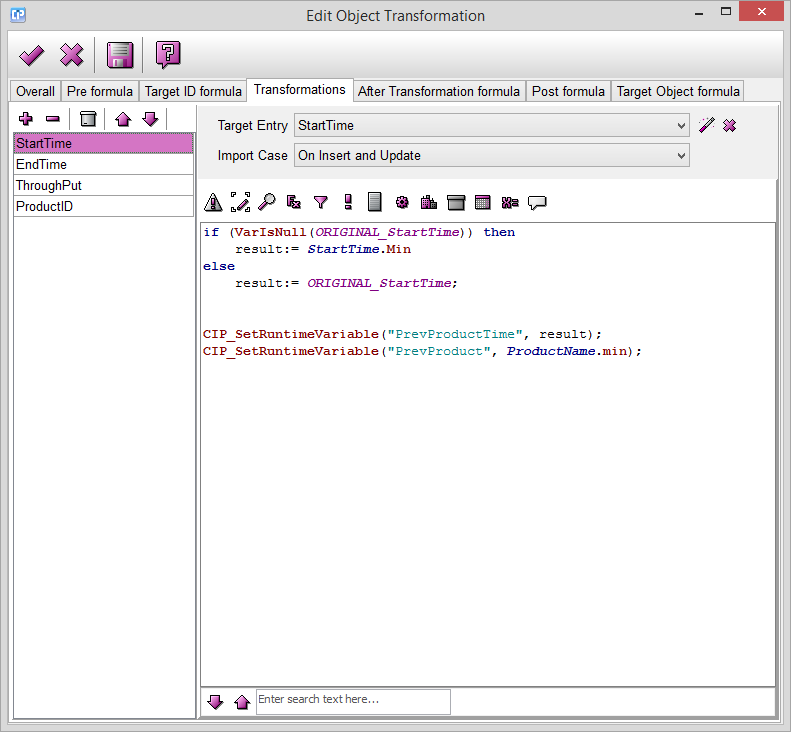
As you can see on the screenshot below, in the case of the StartTime entry, we change the values of the fields when we have a new record. Else, we use the original value.
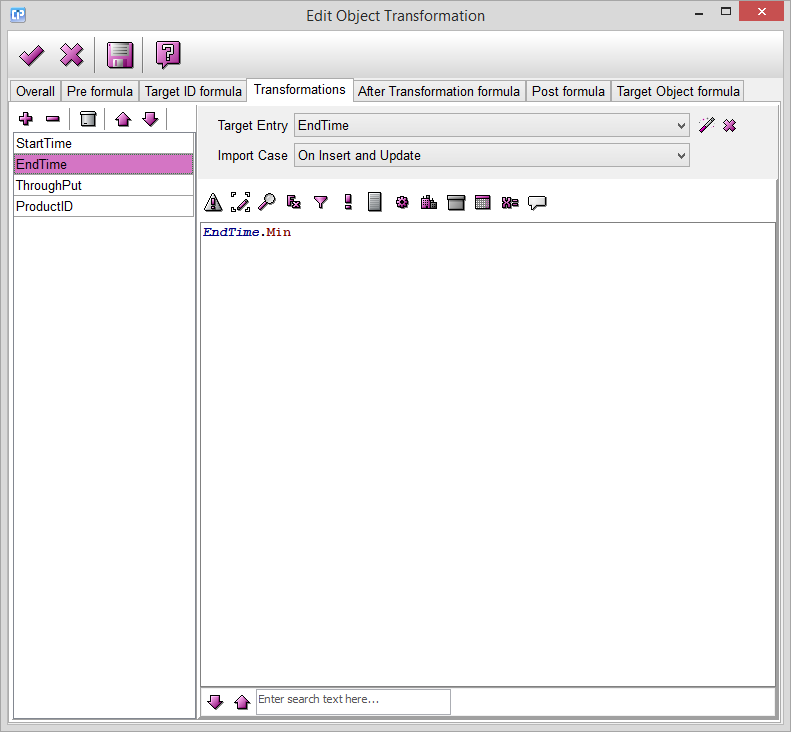
In the case of the EndTime, we aggregate the values through the records.
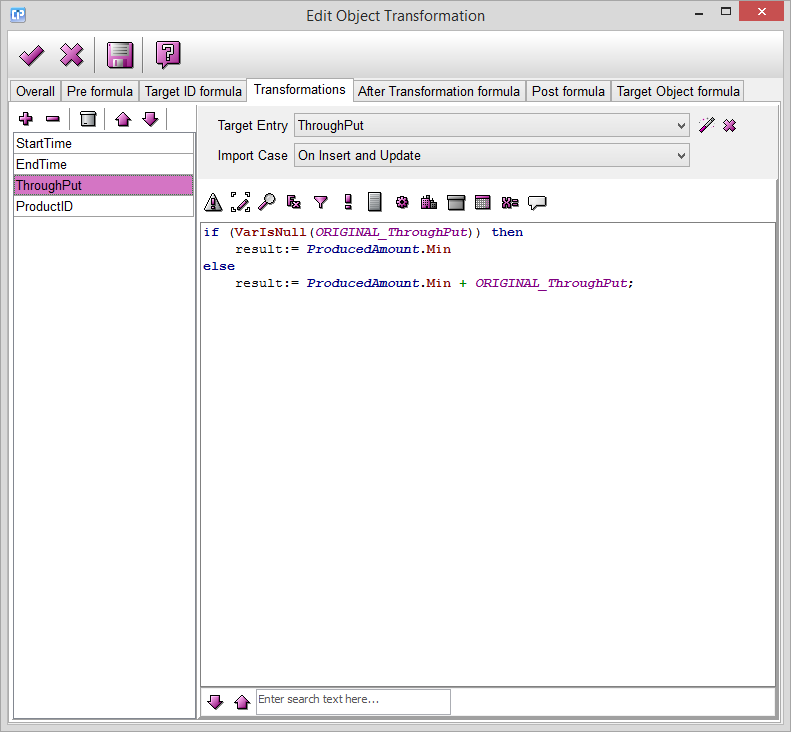
When the product name (record) is changed, the result will be the new amount.
Else, when the product name is the same, the original amount and the new amount are summed.
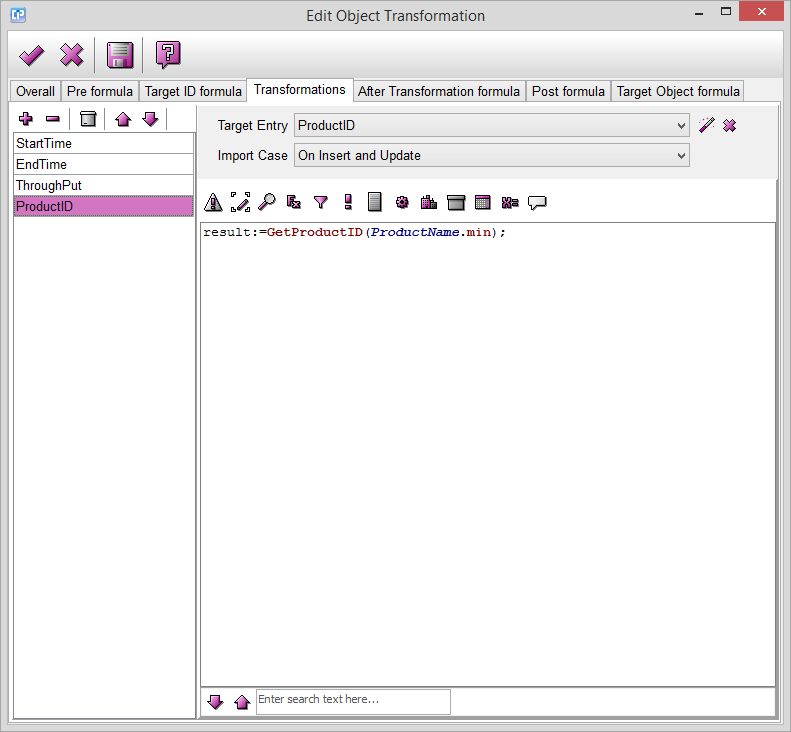
We get the ProductID with the help of the ProductName.