Main
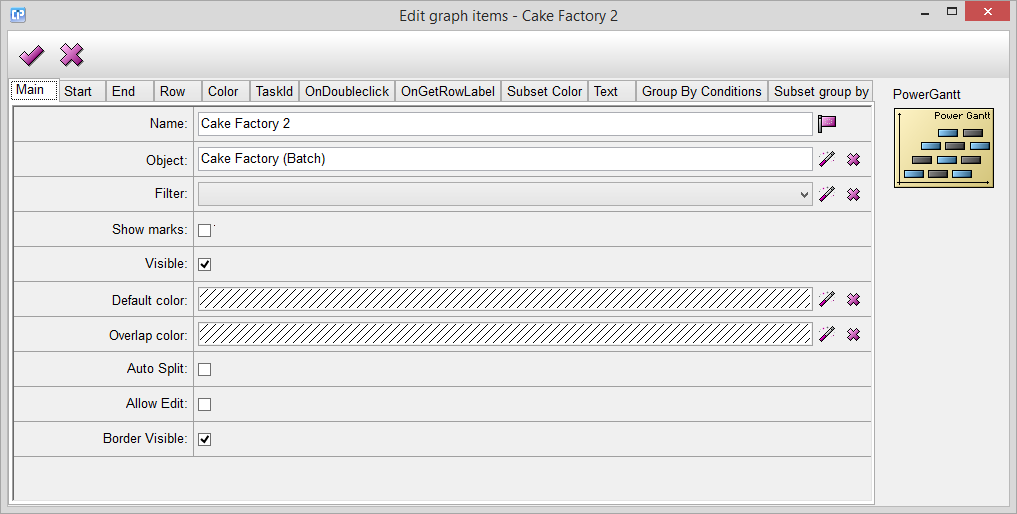
Name - The name of your graph item, you cannot leave it empty.
Object - By clicking on the  button, the Select Object Dialog will appear. From here, you can select the object from which you want to import your data to the graph.
Filter - By clicking on the button, the Select Filter Dialog will appear. From here, you can choose or create a filter which is going to filter your data from your selected object.
Show marks - If you enable this feature, the values will appear on the rectangles as well.
Visible - If you do not mark this feature, your graph will be invisible.
Default color - With the help of this feature, you can adjust the color of your graph. By clicking on the button, the Color Dialog will appear with the help of which you can choose your desired color.
Overlap color - With the help of this feature, you can specify the color of the shape created when two elements overlap each other within your graph.
Auto split - This feature enables you to create a new row.
Allow edit - Mark this feature if you want to edit or move the elements of your graph.
Border visible - Mark this feature if you want to create borders for your tasks within your graph.